William Johnson studied Sociology and Media Studies at the University of California, Berkeley. With over 9 years of experience in lifestyle and cultural journalism, he has written for popular magazines and online platforms. His work highlights the intersection of media, social trends, and human stories. William has been nominated for a National Magazine Award for his coverage of cultural shifts in the digital age. Outside work, he enjoys painting, cooking, and community volunteering. At TLG.WTF, William contributes articles on culture, society, and lifestyle trends that resonate with a global audience.
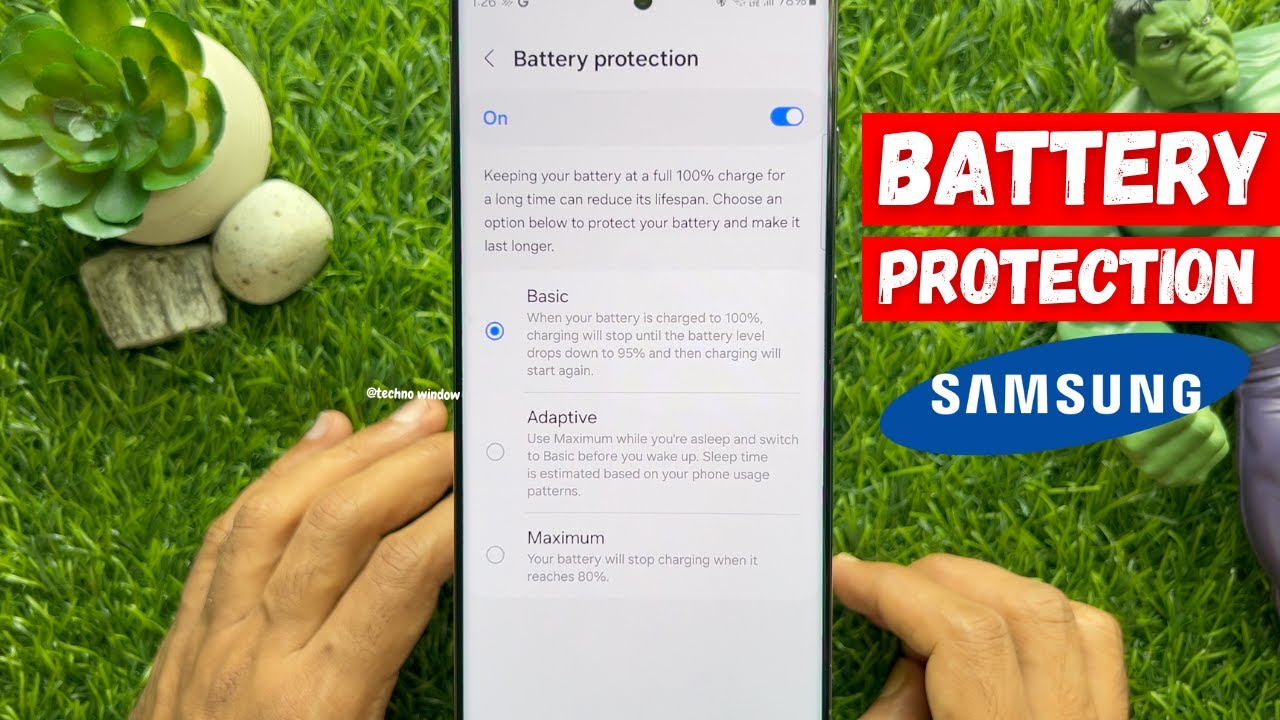
Learn how to enable Battery Protection on your Samsung Galaxy to extend battery life. This guide covers steps for all One UI versions, explaining how to limit charging for optimal battery health.
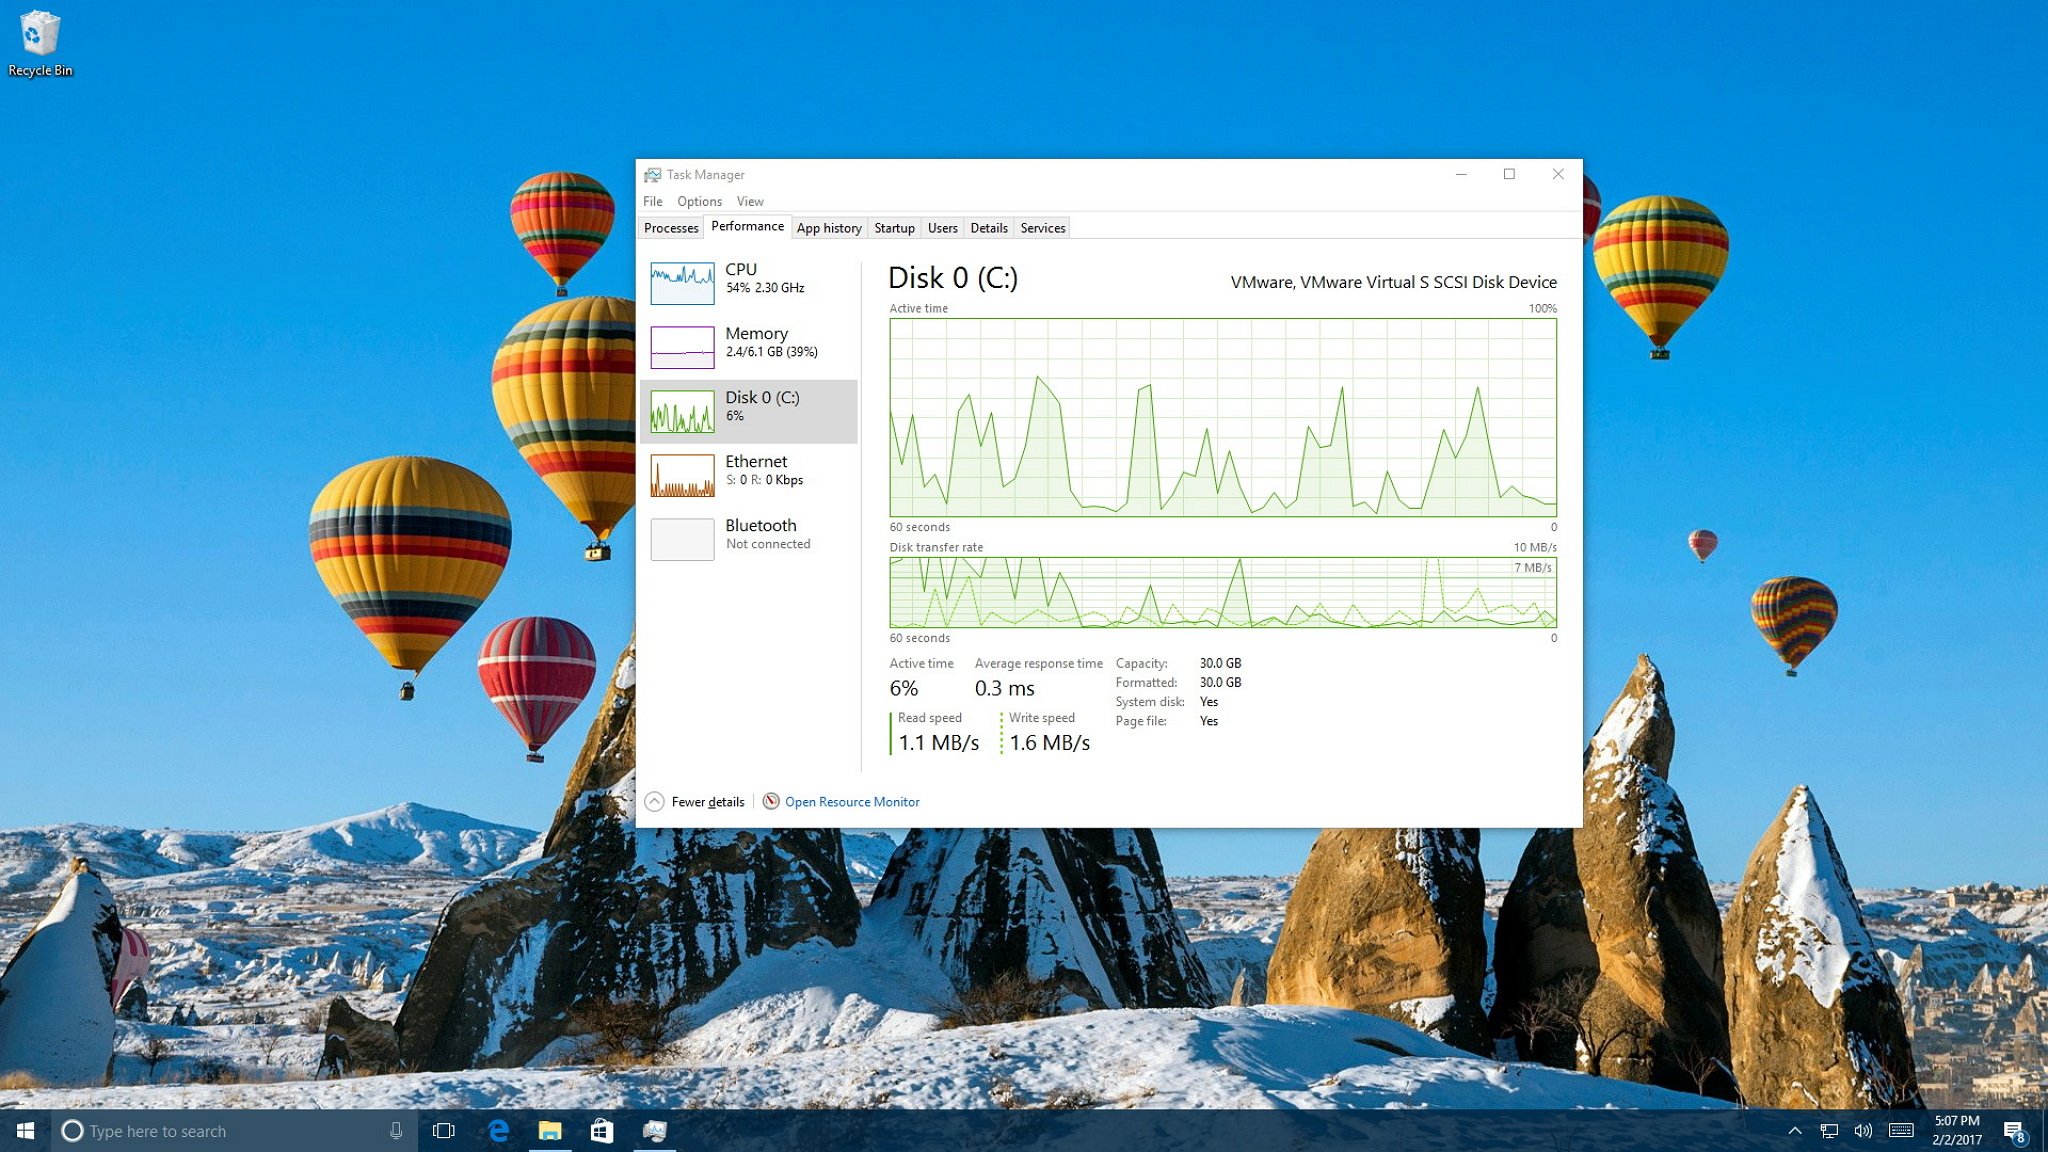
Check Windows system performance with Task Manager. Learn to monitor CPU, RAM, disk, and network usage to troubleshoot slowdowns in this detailed how-to guide.
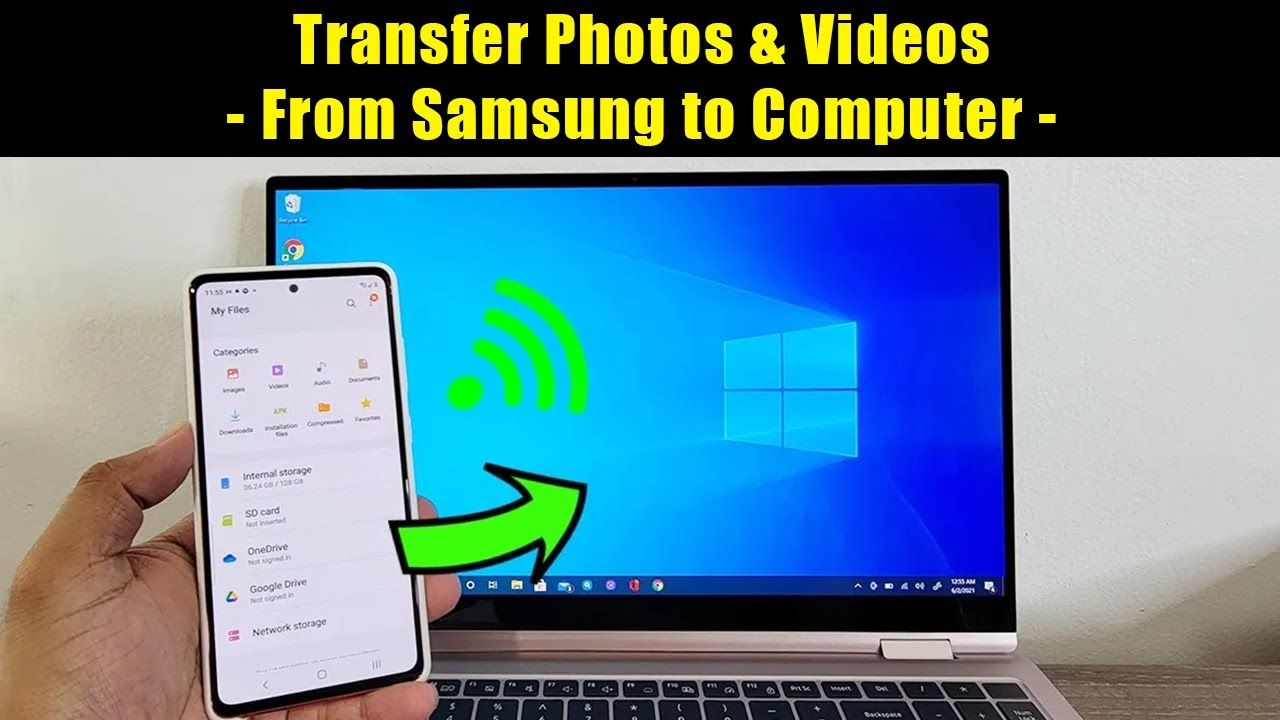
Learn how to transfer Samsung photos to PC without a USB cable. This guide covers cloud services, Samsung Flow, Nearby Share, and other wireless methods.
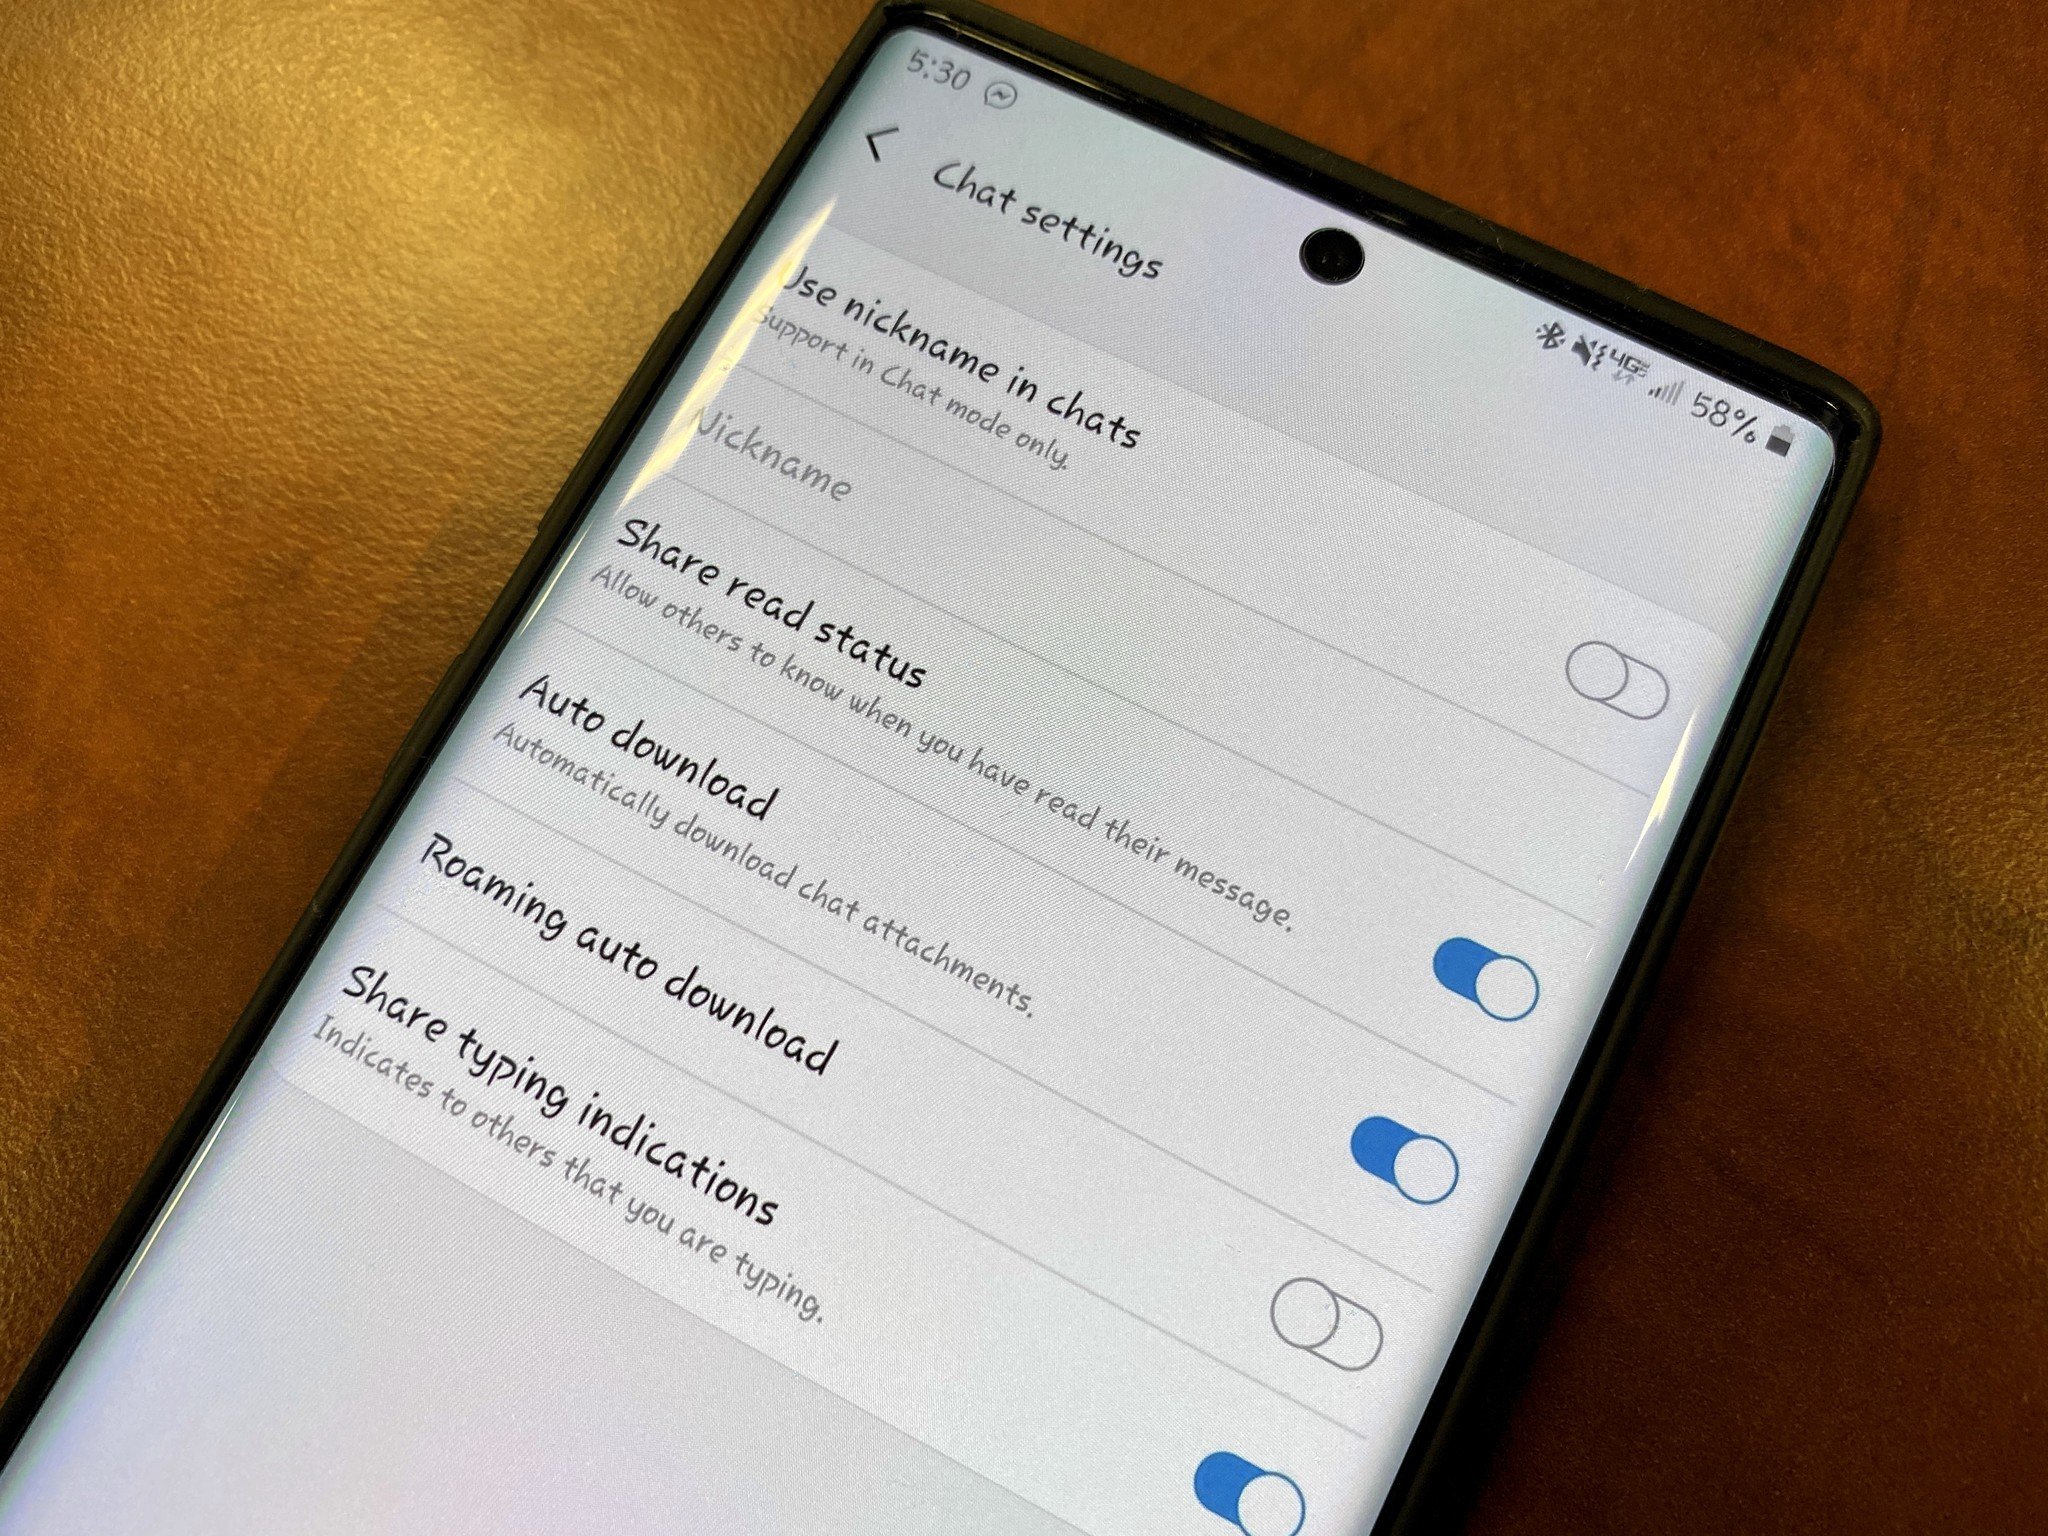
Learn how to enable and use RCS messaging on your Samsung Galaxy phone with this step-by-step guide. Enjoy read receipts, high-quality media, and more.
Learn how to check system information on your Windows PC using Settings, System Information, DirectX Diagnostic Tool, Command Prompt, and Task Manager. Get CPU, RAM, GPU details and more.
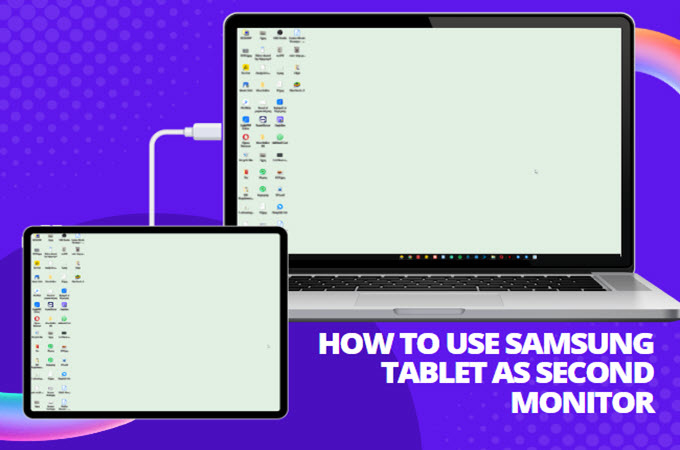
Learn how to use your Samsung tablet as a second monitor for your Windows PC. Explore wireless and wired options including Samsung’s built-in Second Screen, Duet Display, Spacedesk, and SuperDisplay.
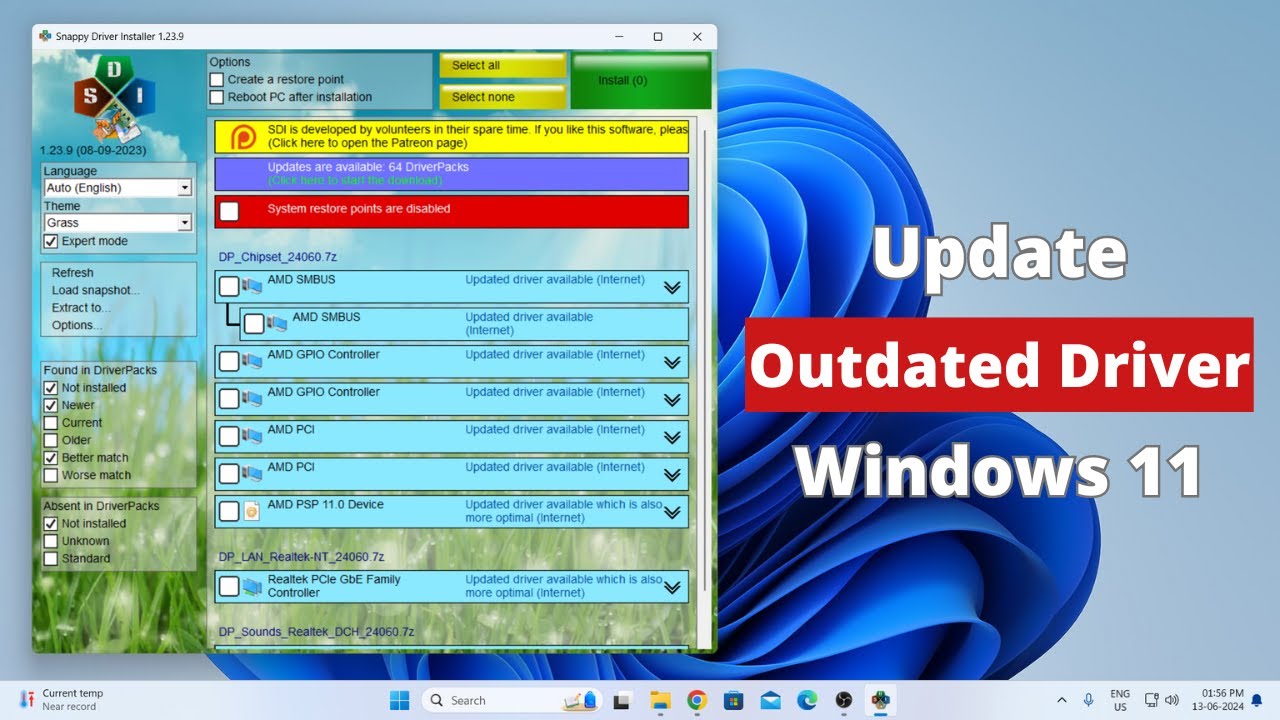
Learn how to safely update outdated drivers in Windows. Our step-by-step guide covers Windows Update, Device Manager, and manual updates from manufacturers.
Learn how to enable and use RCS messaging on your Samsung Galaxy phone with this step-by-step guide. Enjoy read receipts, high-quality media, and more.