William Johnson studied Sociology and Media Studies at the University of California, Berkeley. With over 9 years of experience in lifestyle and cultural journalism, he has written for popular magazines and online platforms. His work highlights the intersection of media, social trends, and human stories. William has been nominated for a National Magazine Award for his coverage of cultural shifts in the digital age. Outside work, he enjoys painting, cooking, and community volunteering. At TLG.WTF, William contributes articles on culture, society, and lifestyle trends that resonate with a global audience.
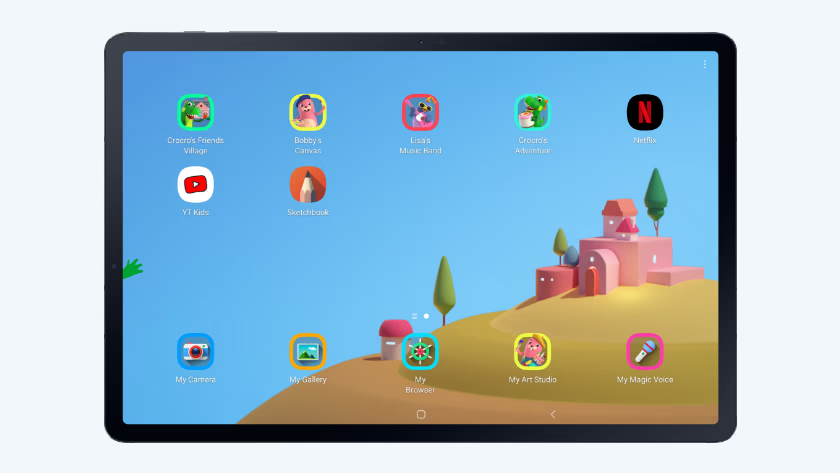
Learn how to safely use Samsung Kids Mode with our step-by-step guide. Set parental controls, manage screen time, and ensure a secure digital space for your child.
Learn how to pair Samsung Galaxy Buds with your Windows or Mac laptop using this step-by-step guide, including troubleshooting tips for seamless connectivity.
Learn how to back up your Samsung phone to Google Drive easily with this step-by-step guide covering contacts, photos, app data, and troubleshooting tips.