What are You Looking for?
Search
Crypto
Editorial
Tech
Editorial
36 posts
By
William Johnson
July 15, 2025
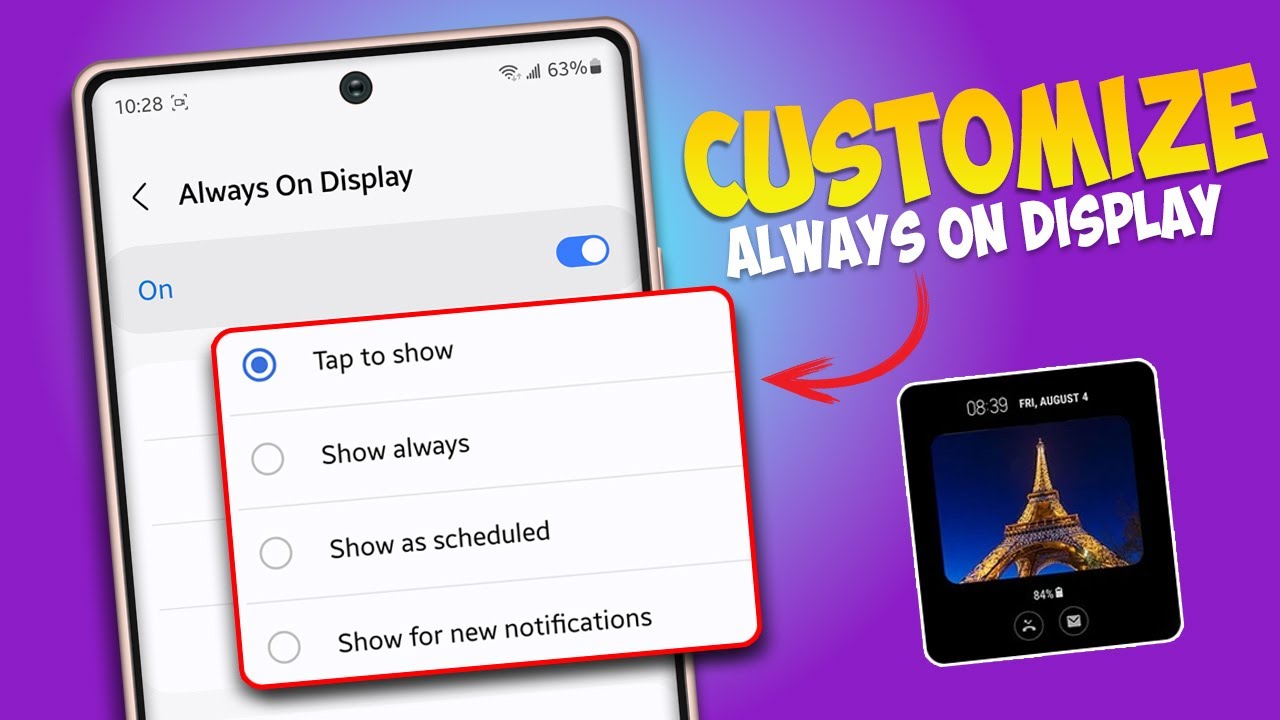
How to Customize Samsung Always-On Display with Animation
Editorial
By
William Johnson
July 8, 2025
How to Pair Samsung Galaxy Buds with iPhone
Editorial
By
William Johnson
July 7, 2025
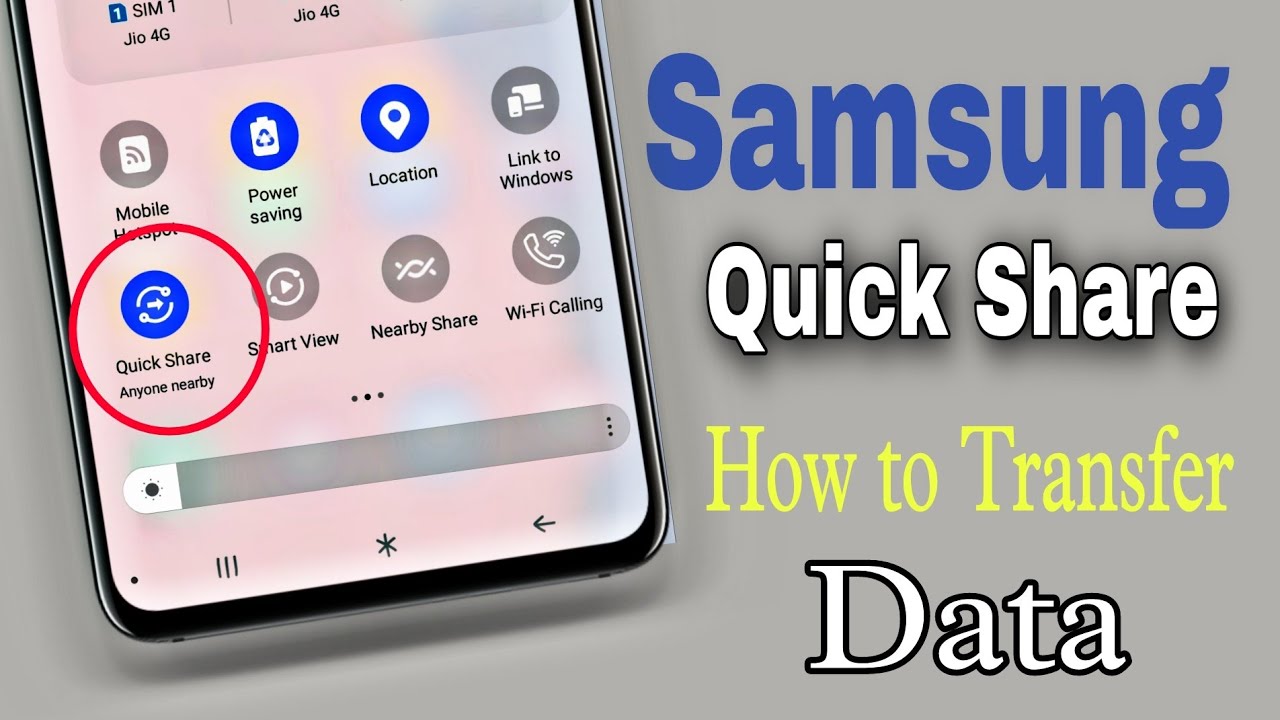
How to Set up Samsung Quick Share on Non-Samsung Devices
Editorial
By
William Johnson
July 4, 2025
How to Recover Deleted Photos from Samsung Gallery
Editorial
By
William Johnson
July 3, 2025
How to Share Wi-Fi from Your Samsung Mobile
Editorial
By
William Johnson
July 2, 2025
How to Customize Samsung One UI with Good Lock 2025
Editorial
By
William Johnson
June 28, 2025
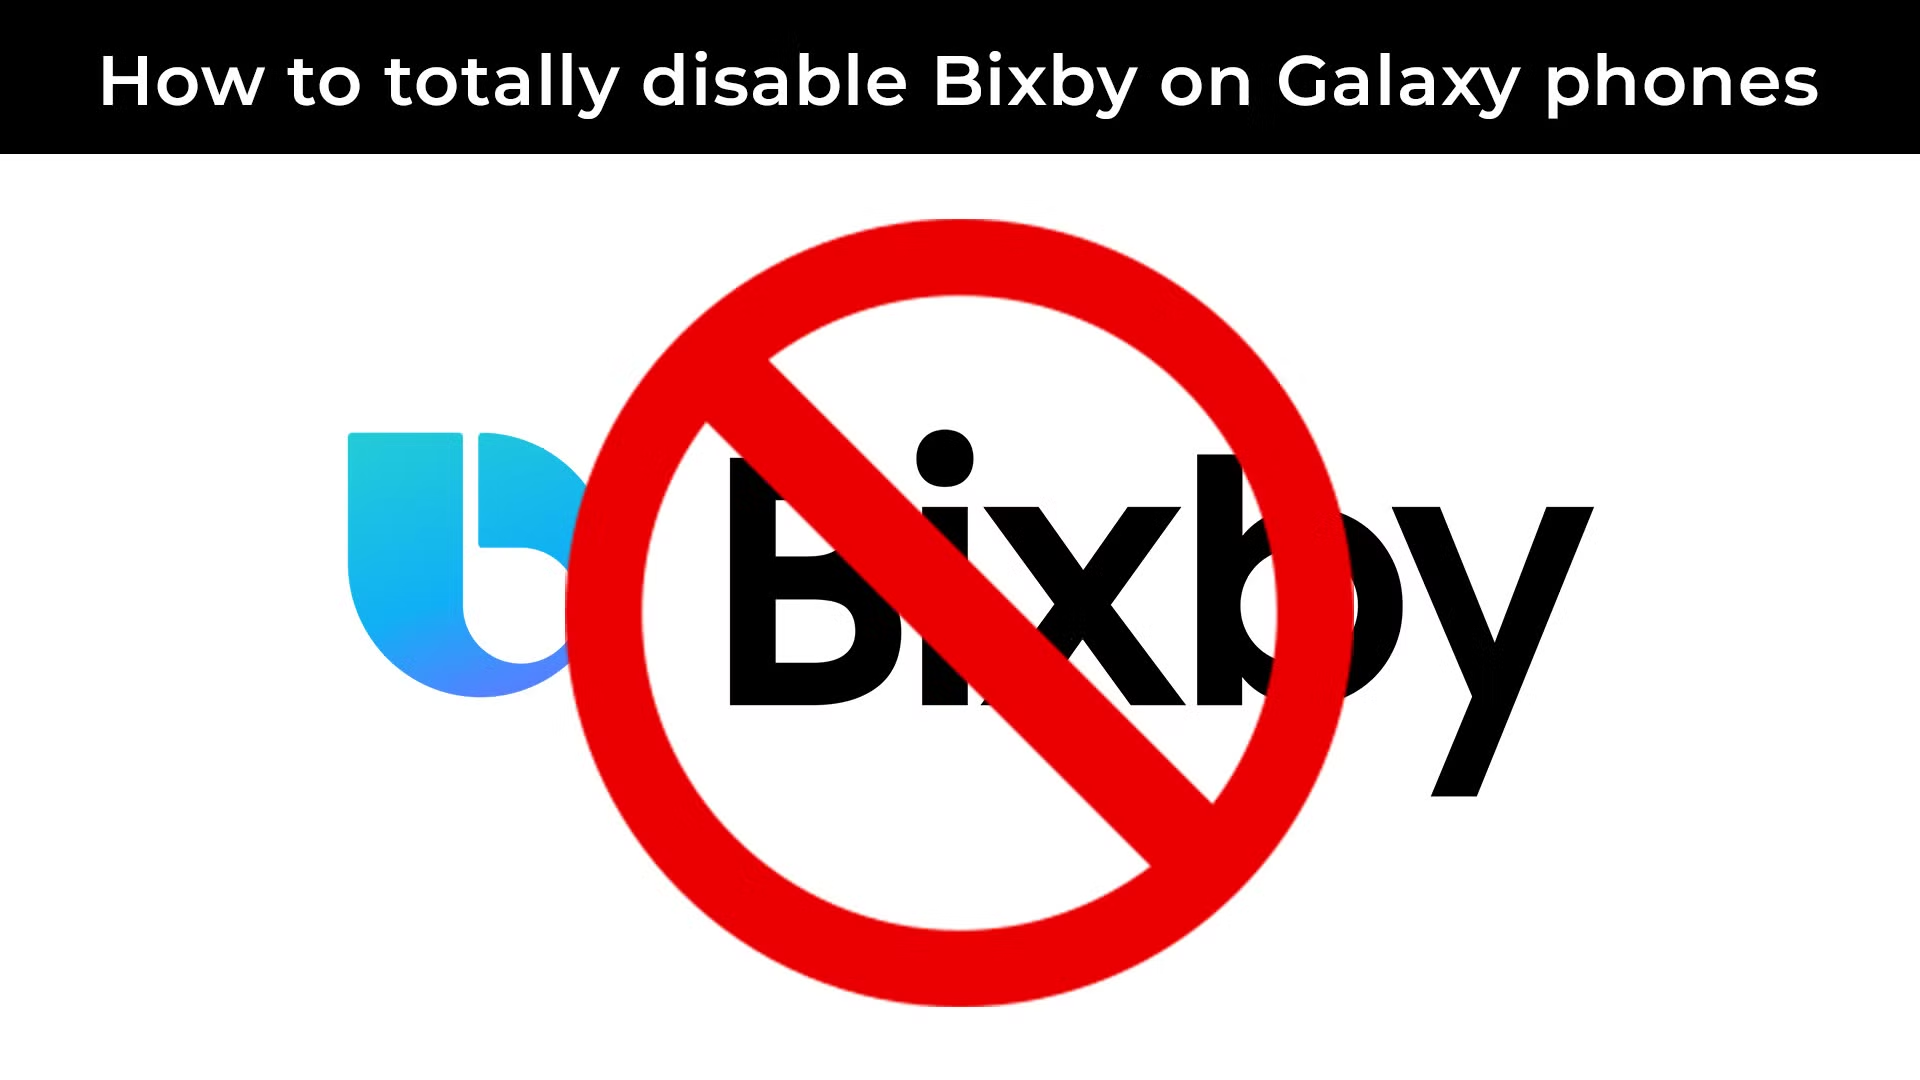
How to Disable Bixby on Your Samsung Galaxy Phone
Editorial
By
William Johnson
June 24, 2025
How to Connect Samsung Phone to TV via Smart View
Editorial
By
William Johnson
June 20, 2025
How to Check if Samsung Phone is Hacked or Monitored
Editorial
By
William Johnson
June 19, 2025
How to Record Gameplay on Samsung Phone
Editorial