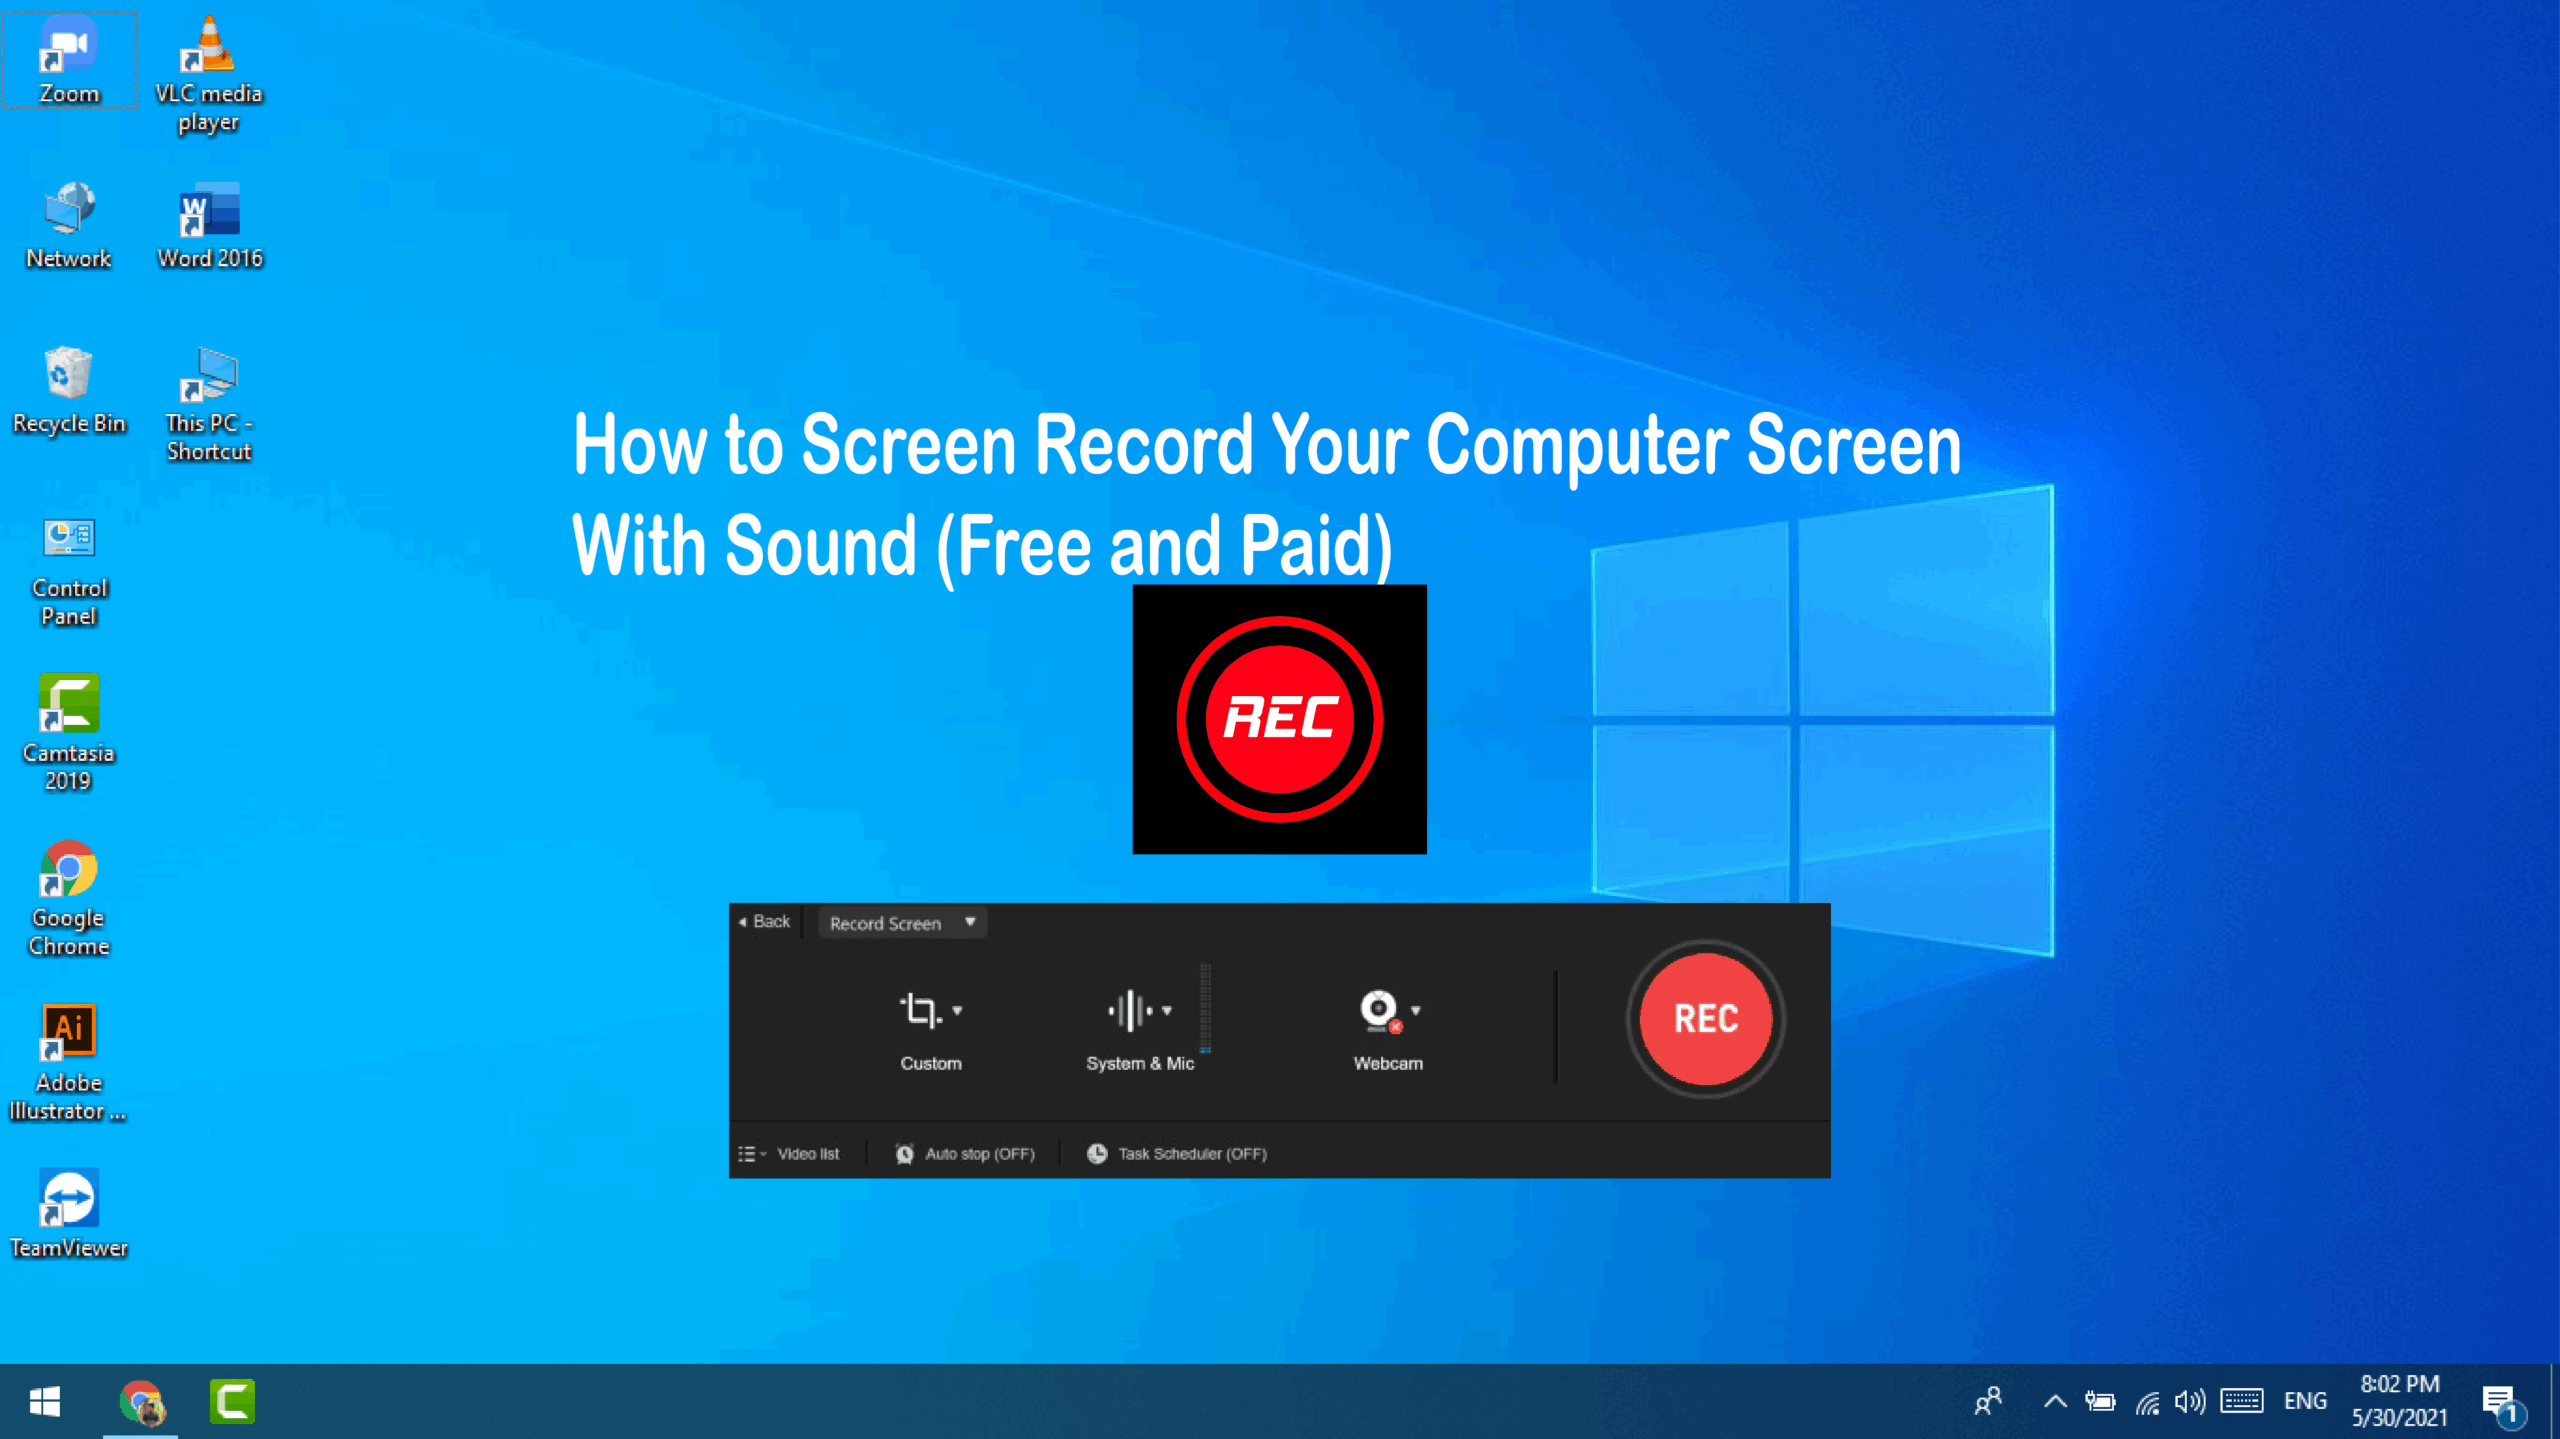
Recording your screen with audio on a Windows computer can be incredibly useful. Whether you’re creating tutorials, documenting issues, capturing webinars, or recording gameplay, knowing how to record both your screen and sound is essential. This guide will walk you through several methods for screen recording with audio on Windows, based on my own usage and first-hand experience, along with best practices shared by real users online.
Why Screen Recording with Audio Matters
Before diving into the methods, it’s important to understand what recording with audio means. You’re not just capturing the visuals on your screen, but also:
- System audio (e.g., sounds from applications, games, or videos)
- Microphone input (your voice or external sounds)
Let’s now go through the various tools and methods you can use to do this on a Windows PC.
Method 1: Using Xbox Game Bar (Built-in in Windows 10 & 11)
Xbox Game Bar is a free, pre-installed tool on Windows 10 and Windows 11. It’s mainly meant for gaming but works well for basic screen recording with audio.
Step-by-step:
- Open the App or Window
Navigate to the window or app you want to record. Xbox Game Bar cannot record File Explorer or your desktop. - Open Xbox Game Bar
Press Win + G on your keyboard. The Xbox Game Bar overlay will appear. - Enable Audio Inputs
- Ensure your microphone is on (click the mic icon in the capture window).
- System audio is captured by default.
- Start Recording
- Press Win + Alt + R, or click the Record button on the overlay.
- A small widget will appear showing the recording timer.
- Stop Recording
- Press Win + Alt + R again or click the Stop button.
- Locate the Recording
Go to Videos > Captures in File Explorer.
Limitations:
- Cannot record desktop or multiple apps.
- No editing tools included.
Method 2: Using OBS Studio (Free & Professional Option)
If you need more control, OBS Studio (Open Broadcaster Software) is a great choice. It’s free, open-source, and widely used for screen recording and streaming.
Step-by-step:
- Download OBS
Go to obsproject.com and download OBS for Windows. Install it normally. - Run Auto-Configuration Wizard (Optional)
On first launch, OBS offers a setup wizard. You can skip or run it. - Add Display Capture
- In the Sources box, click the + button.
- Select Display Capture, name it, and click OK.
- Choose your display if you have multiple screens.
- Set Up Audio
- OBS automatically captures system audio.
- To add your microphone, make sure it’s set under Settings > Audio.
- Start Recording
- In the Controls panel, click Start Recording.
- Stop Recording and Save
- Click Stop Recording when done.
- Files are saved in the Videos folder by default.
What I Like About OBS:
- Captures everything including desktop and multiple sources.
- Records in high quality with adjustable settings.
- Ideal for tutorials and YouTube content.
Method 3: Using the Snipping Tool (Windows 11 Update)
Windows 11’s updated Snipping Tool now supports video recording with audio (in some builds).
Steps:
- Open Snipping Tool
Search for “Snipping Tool” in the Start menu. - Switch to Record Mode
Click the video camera icon. - Click New
Select the screen area you want to record. - Start Recording
Press Start to begin recording. - Stop and Save
Press Stop to end and save the file.
Limitations:
- No support for full-screen recording.
- May lack advanced audio control.
- Not available on all Windows 11 versions.
Method 4: Using PowerPoint (For Office Users)
Yes, Microsoft PowerPoint has a built-in screen recording feature too.
Steps:
- Open PowerPoint
Go to the Insert tab. - Click Screen Recording
You’ll find this in the Media group. - Select Area and Record
- Select the area of your screen to record.
- Enable “Audio” and “Record Pointer” options.
- Start Recording
Click the red Record button. - Stop and Save
- Press Win + Shift + Q to stop.
- Right-click the video in PowerPoint and select Save Media As.
Method 5: Using Free Third-Party Tools (Like ScreenRec or ShareX)
Using ScreenRec:
- Download and Install ScreenRec
Go to screenrec.com and install the app. - Create a Free Account (Optional but unlocks full features)
- Start Recording
- Press the capture shortcut or use the toolbar.
- Select screen area, and ensure microphone/system audio are enabled.
- Stop and Save
Recording is automatically saved. You can share via link or download locally.
ShareX Alternative:
ShareX is also free and allows screen + audio capture with more customization. However, setup is slightly more technical.
Tips to Improve Screen Recording Quality
- Use a quality microphone for voice input.
- Record in quiet environments to reduce noise.
- Close background apps to reduce performance issues.
- Test audio levels before recording.
- Edit recordings using free tools like Shotcut or Clipchamp if needed.
Common Issues and Fixes
| Issue | Solution |
| Audio not recorded | Check microphone/system audio in recording settings |
| Poor video quality | Increase resolution and bitrate in app settings |
| Cannot record system sound | Ensure Windows Sound Mixer is not muting the application |
| Game Bar not opening | Go to Settings > Gaming > Xbox Game Bar and make sure it’s enabled |
Conclusion
Recording your screen with audio on Windows has become easier thanks to built-in features like Xbox Game Bar and Snipping Tool, and advanced tools like OBS Studio. Whether you need a simple solution for a one-time task or a powerful tool for ongoing content creation, Windows offers several reliable options.
Choose the method that matches your needs. If you want something quick and easy, try Xbox Game Bar. If you’re aiming for professional recordings, OBS Studio or ShareX is the way to go.